Quick settings menu
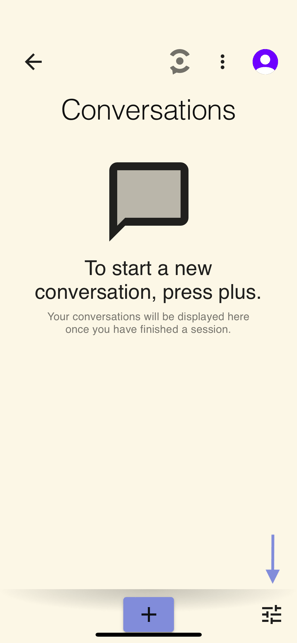
To make changes to the Settings, Colors, Font, and Spacing, here is how you can access the Quick Settings menu.

Settings
- Spoken language: Adjust the spoken languages being used around you.
- Subtitle language: Adjust the subtitle language for the transcription to appear in.
- Minimal interface: Removes app's icons to only show subtitles which is ideal for AR glasses, adapters, and video passthrough.
- Video passthrough: Use your device's built-in cameras to record a video while transcribing the spoken audio.
- Noise cancellation: Useful in noisy environments who want to capture the conversation closest to them without any disturbances.
- Selected audio sources: Change the audio source to capture spoken audio in various settings.
Please be aware that the adjustments made to the following sections below: Colors, Fonts, and Spacing will not be applicable in the AR subtitles.
Colors

- Preview: Review subtitle colors before finalizing.
- Light and dark mode: The app's interface colors will adjust to the light or dark mode
- Favorite colors: Most recently used colors by you.
- Additional colors: Choose from a wide range of colors that suit your preferences.
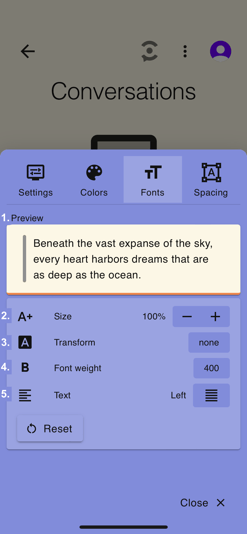
Fonts
- Preview: Review subtitle font before finalizing.
-
Size: Adjust the font size of the subtitles with this tool.
-
Text: Align subtitles to be either: left, center, right, or justify.
-
Transform: Change how the words should appear in either capitalized, lowercase, or uppercase.
-
Font weight: Font weight can be used to show bold text or lighter text for contrast.
Spacing

Spacing: Users have the ability to adjust the spacing of the subtitles based on their preferences:
- Preview: Review subtitle spacing before finalizing.
- Words: 0.00 to 2.00
- Letters: 0.00 to 0.50
- Lines: 0.50 to 2.50
- Width: 25% to 100%
- Height: 0% to 80%
- Margin: 0% to 25%
Click on the Reset button anytime which will automatically revert the settings back to the original configuration of the app.
